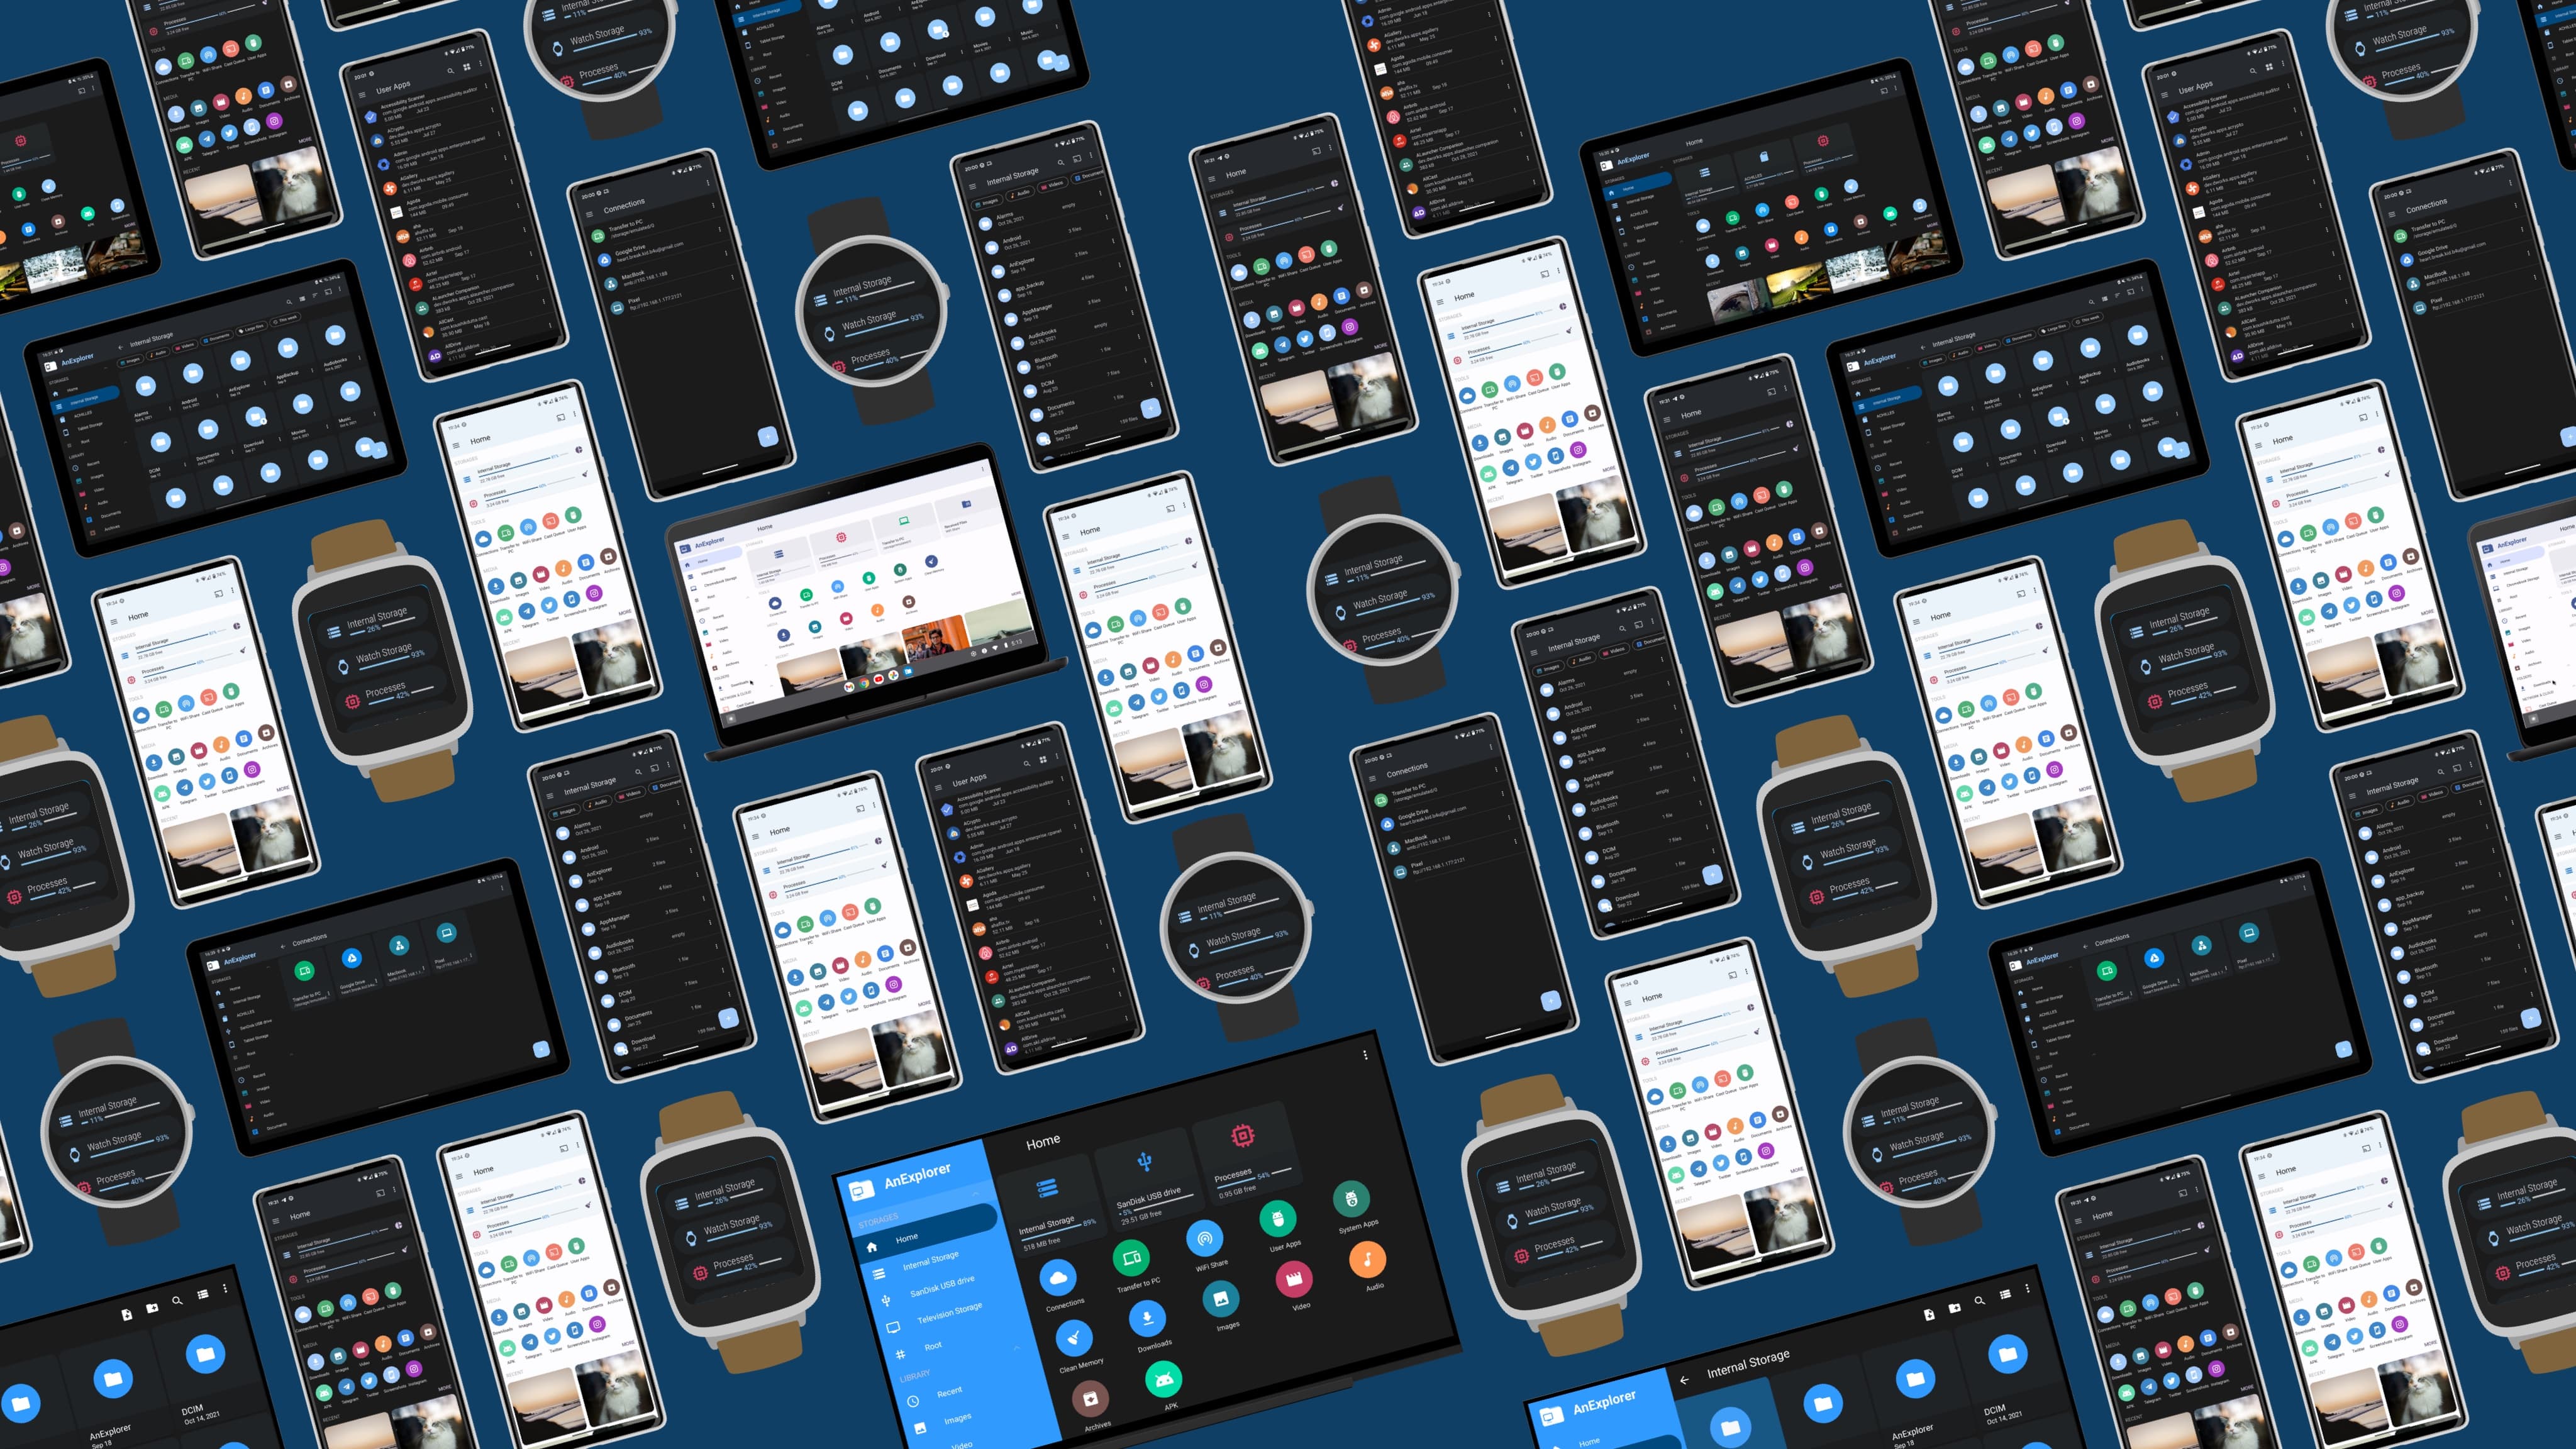
Install APK on VR Headsets
Android-based VR headsets like Meta Quest, Pico 4, and HTC Vive XR run a full Android operating system underneath their VR interfaces. This means they have local storage, a package manager, and the ability to install standard Android APK files — including apps not available in the headset's official store. AnExplorer, available on the Meta Horizon Store, is the file manager purpose-built for VR headsets. It handles the complete sideload workflow inside the headset itself without requiring a PC connection.
Why Sideload on VR Headsets?
The official stores for VR headsets (Meta Horizon Store, Pico Store) have limited app selections compared to the full Android ecosystem. Sideloading lets you:
- Install Android apps not designed for VR but still functional (streaming apps, utilities, media players)
- Test development builds of your own VR apps before publishing
- Install apps distributed outside official stores (indie games, beta releases, enterprise tools)
- Run 2D Android apps in a virtual window within the VR environment
- Install modified or region-restricted apps not available in your country's store
Supported Headsets
| Headset | AnExplorer Source | Developer Mode Required | ADB Support |
|---|---|---|---|
| Meta Quest 3 / 3S | Meta Horizon Store | ✅ Yes | ✅ WiFi + USB |
| Meta Quest 2 / Pro | Meta Horizon Store | ✅ Yes | ✅ WiFi + USB |
| Meta Quest 1 | Meta Horizon Store | ✅ Yes | ✅ USB only |
| Pico 4 / 4 Ultra | Pico Store | ✅ Yes | ✅ WiFi + USB |
| HTC Vive XR Elite | Sideload APK | ✅ Yes | ✅ WiFi + USB |
| Samsung Galaxy XR | Galaxy Store / Sideload | ✅ Yes | ✅ WiFi + USB |
Step 0 — Enable Developer Mode (One-Time Setup)
Developer Mode must be enabled before any sideloading is possible. This is a one-time configuration that persists across reboots and updates.
For Meta Quest (Quest 2, 3, 3S, Pro):
- On your phone or computer, visit developer.oculus.com
- Create a developer account or join an existing organization (this is free — you just need to agree to terms)
- Open the Meta companion app on your phone (the app you used to set up the headset)
- Navigate to: Menu → Devices → select your headset → Settings → Developer Mode
- Toggle Developer Mode to ON
- Put on the headset and restart it when prompted
- After restart, the headset now permits installing APK files from unknown sources
For Pico 4 / Pico 4 Ultra:
- Put on the headset → go to Settings → General → About
- Tap Software Version (or Build Number) 7 times rapidly
- A toast message confirms "Developer Options enabled"
- Go back to Settings → find Developer Options
- Enable USB Debugging and Install via USB (also enable Wireless Debugging for cable-free installs)
For HTC Vive XR Elite:
- Settings → About → tap Build Number 7 times
- Settings → Developer Options → enable USB Debugging
- Enable Install from Unknown Sources in Security settings
Method 1 — Transfer from Phone via WiFi (No PC Required)
This method uses AnExplorer on both your phone and the headset to transfer APK files wirelessly:
- Install AnExplorer on your phone (from Google Play) and on the headset (from Meta Horizon Store or Pico Store)
- Ensure both your phone and headset are connected to the same WiFi network
- On your phone: open AnExplorer → navigate to the APK file → tap WiFi Share
- Inside the headset (using controllers): open AnExplorer → Network → WiFi Receive
- Accept the incoming transfer — the APK file arrives in the headset's local storage
- In the headset's AnExplorer, navigate to the received APK file → tap it to install
- Accept the installation prompt — the app appears in your headset's app library
This is the simplest method for most users since it requires no cables, no PC, and no command-line knowledge.
Method 2 — Device Connect (PC Browser → Headset)
Device Connect starts a lightweight HTTP server on the headset that any browser on your local network can connect to. This is the fastest method for transferring large files:
- Inside the headset, open AnExplorer → Tools → Device Connect → Start Server
- Note the IP address and port displayed on the headset screen (e.g.,
192.168.1.50:8080) - On your PC (connected to the same WiFi), open any web browser
- Navigate to the address shown on the headset (e.g.,
http://192.168.1.50:8080) - The headset's filesystem appears in your browser — drag and drop APK files onto the page to upload them
- Once uploaded, put the headset back on → open AnExplorer → navigate to the uploaded APK → tap to install
Device Connect transfers at full local WiFi speed (typically 20–80 MB/s), making it ideal for large APK files or transferring multiple files at once. No software installation is needed on the PC — just a web browser.
Method 3 — Remote Install via ADB from Phone
AnExplorer's Remote Install feature pushes the APK from your phone directly into the headset and installs it silently — no interaction needed inside the headset (no confirmation dialog, no manual navigation). This is the most streamlined method for developers or anyone installing multiple apps.
WiFi ADB (recommended — no cable needed):
- In the headset: Settings → Developer Options → Wireless Debugging → ON
- Tap Pair device with pairing code — note the IP address, port number, and 6-digit pairing code shown on screen
- On your phone, navigate to the APK file in AnExplorer → tap Remote Install
- Enter the IP address and pairing code from the headset
- Tap Pair to establish the connection, then tap Install
- The app installs silently on the headset — no headset interaction required
USB ADB (when WiFi is unavailable):
- Connect the headset to your phone using a USB-C cable
- In the headset: Developer Options → USB Debugging → ON
- Put on the headset briefly and tap Allow on the "Allow USB Debugging?" prompt
- On your phone, navigate to the APK in AnExplorer → tap Remote Install
- Tap Install — the app appears in the headset's library within seconds
Method 4 — USB Drive (No Network Required)
For situations where WiFi is not available:
- Copy the APK file to a USB-C flash drive on your PC
- Plug the USB-C drive directly into the headset's charging port (Quest 3 uses USB-C)
- In the headset, open AnExplorer → the USB drive appears in the sidebar
- Navigate to the APK file → tap to install
Note: Not all headsets support USB OTG storage access. Meta Quest 3 and Pico 4 support it; older Quest models may not.
After Installation — Finding Sideloaded Apps
Sideloaded apps do not appear in the main app grid alongside store-installed apps on most headsets:
- Meta Quest: App Library → filter by Unknown Sources (dropdown at top)
- Pico 4: Main app grid → scroll to the end, or check the "All Apps" section
- HTC Vive XR: App Library → filter by "Other" or "Sideloaded"
AnExplorer's App Manager shows all installed apps regardless of source — useful for managing or uninstalling sideloaded apps.
Troubleshooting
"Install blocked" or "For security, your device is set to block installation"
- Developer Mode is not enabled or was disabled by an update — re-enable it following Step 0
- On Meta Quest: ensure you completed the developer.oculus.com registration
APK installs but app crashes immediately
- The app may not be compatible with the headset's Android version or architecture (Meta Quest uses arm64-v8a)
- VR headsets typically run Android 10–12 — apps requiring Android 13+ features will fail
- 2D Android apps may work in a virtual window but some crash if they cannot detect a display
Cannot find the installed app after sideloading
- On Quest: check App Library → Unknown Sources (use the filter dropdown)
- If it still does not appear: restart the headset — some apps require a reboot to register in the launcher
Related Guides
- APK Installer Feature — how AnExplorer handles APK installation
- File Manager for Meta Quest — full file management on Quest
- Install APK on AR Glasses — sideload on AR devices
- Best VR Headset File Manager — compare options